After receiving such an amazing flower bouquet as part of Ireland's Garden Heroes I wanted to preserve the blooms. A keepsake of the occasion if you will.

I had been toying around with different methods of preserving flowers and had been using the silica gel method on many flowers from the garden.
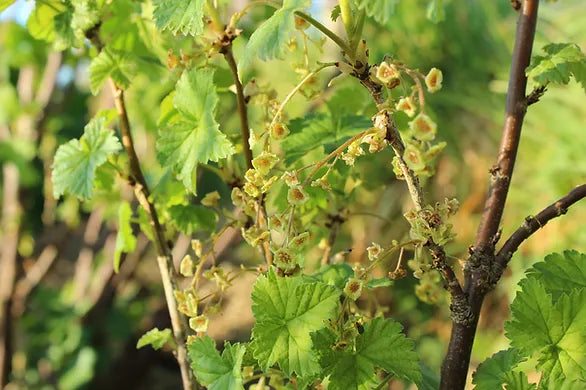
I attempted to dry out the beautiful dahlias from the arrangement using this method, but it didn’t work as the dahlia bloom is so dense meaning it contains quite a lot of moisture.
I came across the following image on Pinterest and inspiration struck.

By imprinting the flowers and foliage into clay it would mean I could have the piece forever.
So, mum and I hit the shops. On the hunt for some air-dry clay, paintbrushes and other bits and bobs. The supplies were gathered, and crafting commenced.
I think the last time I had worked with clay was primary school, so this was a very nostalgic experience.

We rolled out the clay on a linen cloth to prevent it sticking to the table. I then placed the flowers on top of the clay and rolled them into the surface. I removed the flowers from the clay before cutting them to shape using the biggest cookie cutter I could get my hands on. (Bigger is better for these in my opinion.)
I also used my metal stamping kit to emboss some text into one or two of the pieces to make it even more meaningful and personal.

The clay took 24 hours to dry completely and then we started the painting and glazing process. Figuring out the painting techniques took a few tries and a lot of kitchen paper, but we had it down to a fine art in the end. I wanted the paint to highlight the floral imprint but not to darken the rest of the surface of the clay. There was a lot of painting and wiping and wetting and wiping but I am delighted with how they have turned out.
I purchased the glaze online. We used a durable glaze to help prolong the life of the ornaments. After several layers of glazing and a few days of drying and hardening the ornaments were ready to be strung and displayed.

I am really happy with how they turned out. They are super simple to create and made for an enjoyable activity
So, if you ever have a bunch of flowers that you want to create something from or even go collect some wildflowers from the garden, maybe you can also give this craft a go and create something unique and beautiful too.